#8 Custom element
Custom Elements are Polymer's most prominent feature using which, one can create an element according to his needs and share it with others too. They let you define your own element types with custom tag names. Just like <image>, you can have <cool-image> in your HTML. Two-way data-binding, declarative event handling and declarative inheritance are some of the special features.
Copied from the Polymer-project (v0.5) website, here are the advantages :
- less code
- re-usability
- they express the function of code
- they encapsulate internal details
- they implement APIs per element type
NOTE: This post uses Polymer v0.5.
So let's begin making our custom element "nick-name".
1. Create nickname.html and add following code.
Note:

2. Add the javascript "nickname.js".
3. Install your custom element using one line of code. Isn't it beautiful ?
And don't forget to link the html.
You can reuse a custom element anywhere and anytime. Now go, run it.
 Next Post-->
So let's begin making our custom element "nick-name".
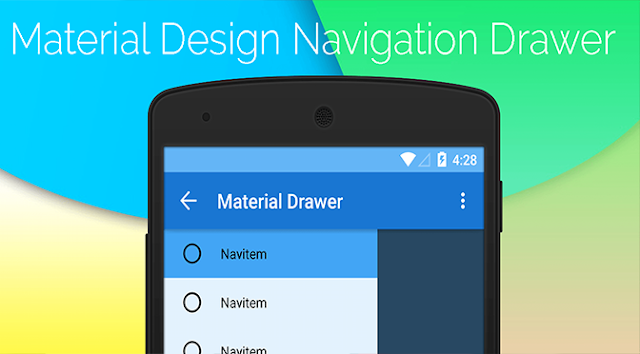
Our element will open a material dialog-box, take name as input and change the label in Drawer-panel to "Hello [name]" (using data-binding).
1. Create nickname.html and add following code.
<link rel="import" href="bower_components/polymer/polymer.html">

<polymer-element name="nick-name" attributes="name">
   <template>
      <!--Content held by our element goes here-->
   </template>
<script src="nickname.js"></script>
</polymer-element>Note:
- Attributes refer to the variables you want to use for data-binding.
- To use multiple variables, put a space between them, like attributes="name place phone".
Now we put our stuff. This will go within "template" tag.
<!--Dialog Box-->
<paper-action-dialog id="msg_dialog" heading="Hey there.." style="color: #3f51b5;" transition="core-transition-center" backdrop="true" opened="true">
<paper-input label="What's ur nickname ?" floatingLabel="true" id="inputName" value="{{name}}"></paper-input>
<paper-button affirmative style="color: #3f51b5;" on-click="{{changeName}}">Submit</paper-button>
</paper-action-dialog>
- You may notice {{name}}. It's a way to use data-binding to change value of an attribute.
- {{changeName}} is the function defined by us to change value of "name".

Polymer ('nick-name', {
  changeName: function() {
    document.getElementById('username').innerHTML = 'Hello '+this.name;
  }
});
3. Install your custom element using one line of code. Isn't it beautiful ?
<nick-name></nick-name>And don't forget to link the html.
<link rel="import" href="nickname.html">You can reuse a custom element anywhere and anytime. Now go, run it.


Comments
Post a Comment